Home and Learn: Android Course
Getting Started with Android Studio
Updated July 2023
Open up Android Studio. When you open the software for the first time, you should see a screen like this one:
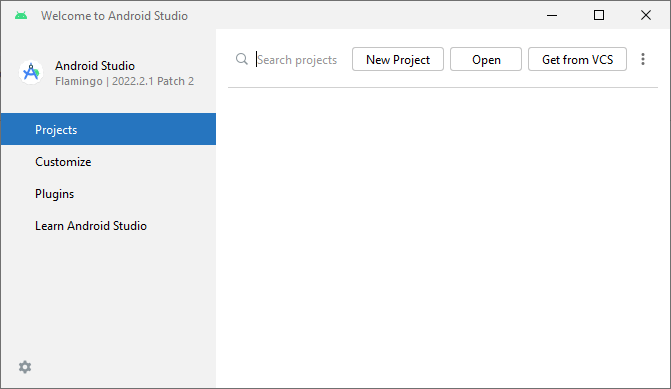
When you create projects, they will appear in the white area on the right, ready to be quickly reopened.
Since you haven't created a project yet, click the button at the top that says New Project. When you click this link, you'll get the following dialogue box:
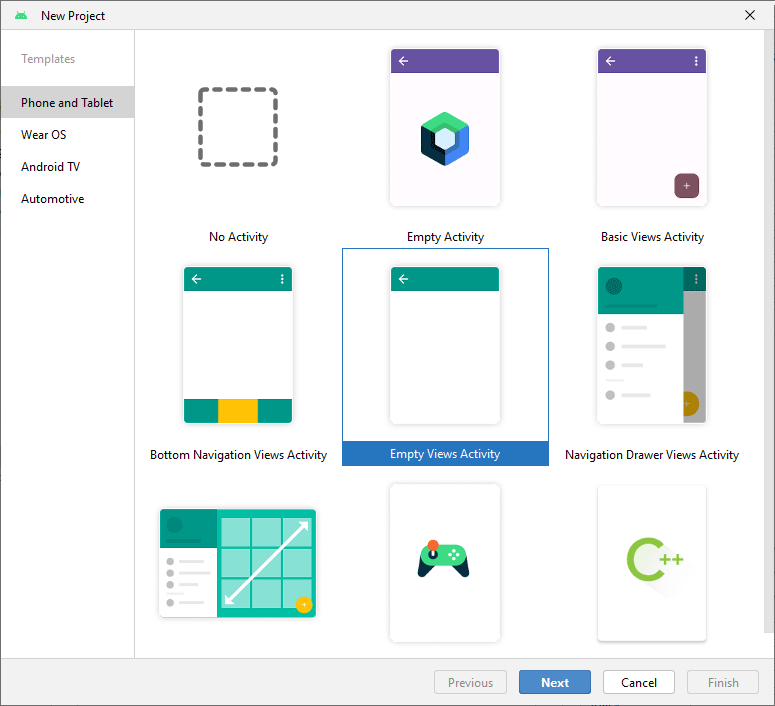
In previous versions of Android Studio, you would select the Empty Activity item, which is the default selection. But this will create a Kotlin project. We're going to be programming in Java, so select the Empty Views Activity item. Click Next to see this screen:
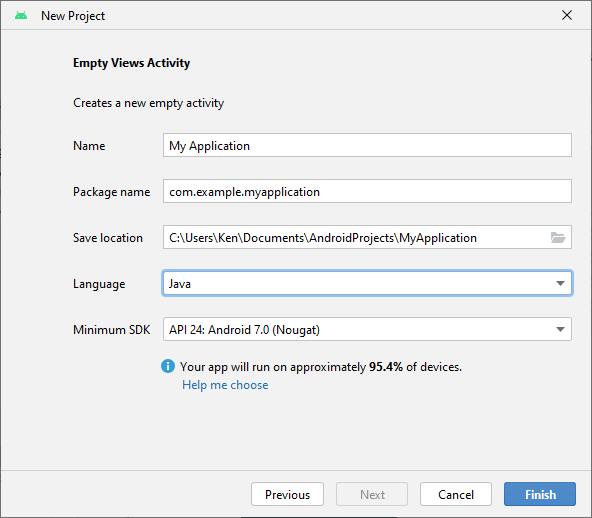
The Name can be anything you want. But leave it on the default of My Application.
Notice that there is a package name. This is where all your projet files live. It is a reversed domain name. This is somewhat confusing, as it's not a domain name for the internet. So it's not a real web address. All you're doing here is settings up a unique namespace that points to where all your applications files live.
The Save Location is where you're saving your project to. We're saving this to the Documents folder, inside another folder called AndroidProjects. Click the button on the right of the textbox, if you want to save your project elsewhere.
For the Language, if yours says Kotlin, click the dropdown and change it to Java.
Have a look at the dropdown box for Minimum SDK. (SDK is short for Software Development Kit.) The list shows you all the various flavours of the Android operating system. What you're doing here is selecting the minimum version that you'd like to support. When you select a flavour, it will display what percentage of all Android users that you will be reaching. By selecting Android 7.0 (Nougat), we'll be reaching 95.4 percent of all Android users.
Click the Finish button when you've filled in all the boxes above. Android Studio will go to work and create your new project.
Errors when Android Studio Project First Loads
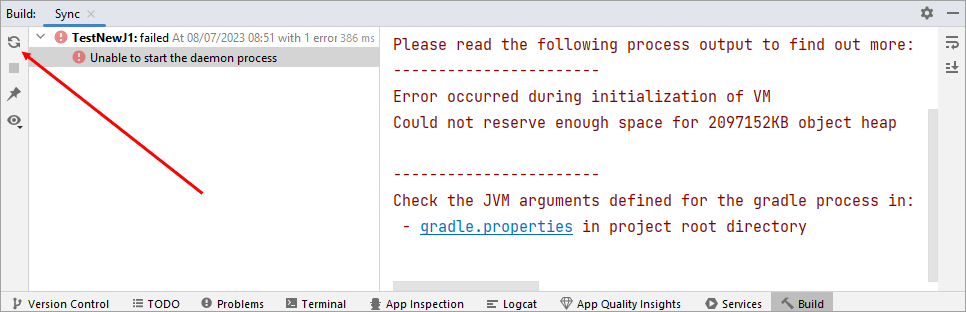
When you create a new project, there's a slim chance you may see the following error message:
"Error occurred during initialization of VM. Could not reserve enough space for 2097152KB object heap"
Here's a screenshot of the error:

Click the link that says gradle.properties. A new file will open up:

The error is due to the ammount of memory reserved for the Java Virtual Machine. It's coming from this line:
org.gradle.jvmargs=-Xmx2048m -Dfile.encoding=UTF-8
Change the -Xms2048m to something smaller. 512 is usually OK. So this:
org.gradle.jvmargs=-Xmx512m -Dfile.encoding=UTF-8
You now need to refresh Gradle. Click the refresh icon, as indicated by the red arrow below:
Gradle will update, and you'll be good to go.
If you get a new error after the refresh, one saying something like, "No matching variant of com.android.tools.build:gradle ... ", then it's because you're not using the correct version of Java. To check, click File > Settings from the menu at the top of Android Studio. You'll see a dialog box appear. This one:
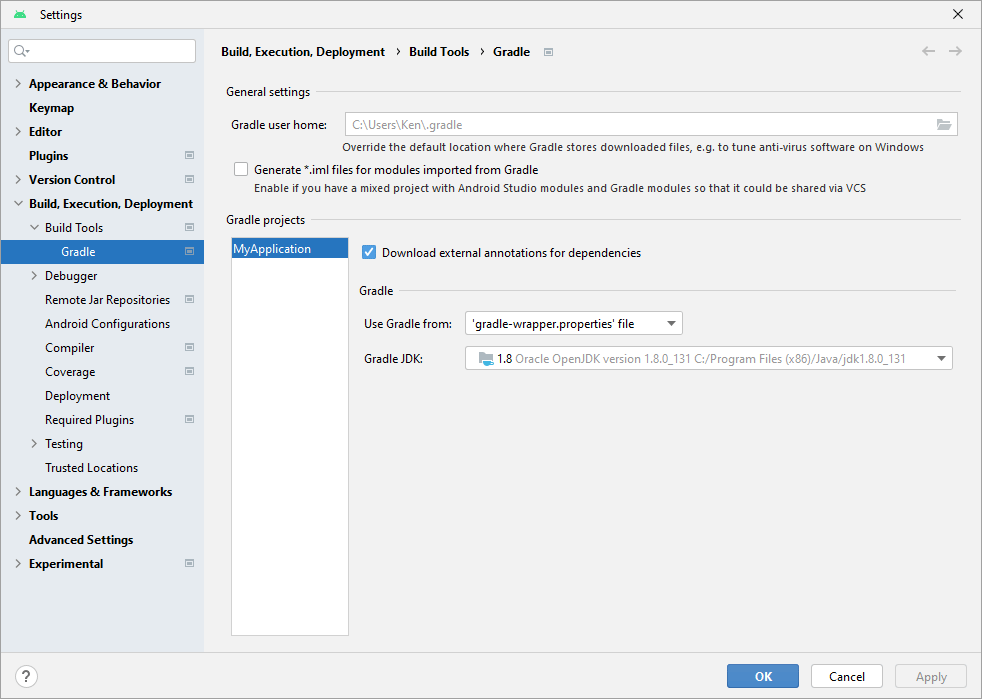
From the left, click on the Build, Executiom Deployment item. Expand Build Tools, and select Gradle. Click the dropdown for Gradle JDK to see which version or version of Java you have installed:
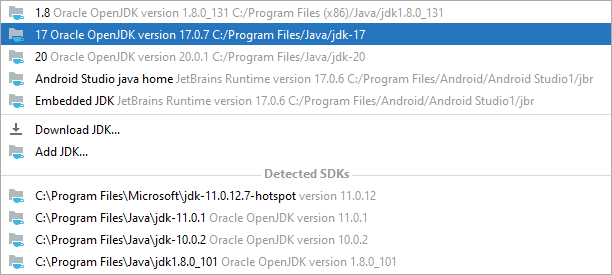
Under Detected SDKs, note which versions of Java you have. In the image above, a lot of older versions of Java have been detected. If you don't see version 17 on the list, then you need to install it. You can do so from here:
https://www.oracle.com/java/technologies/downloads/#java17
(At the time of writing, the newer version 20 of Java is not yet supported in Android Studio. Java 17 is fine, though. f Java 17 is no longer available, try version 20. Hopefully, it will be supported, by the time you're doing this tutorial)
Before installing Java, close down Android Studio. Open it up again. If you still see the "No matching variant" error, click the refresh button, as indicated above in the image with the red arrow.
Again, Gradle may update. When it does, you're in the game and can go to the next lesson!
In the next lesson, we'll take a look at the Android Studio IDE.
< What you need | A First Project >
Back to the Android Contents Page